
Build the Attack. Shape the Tail.
A stereo sampler, two wavetable synths and a noise layer. Play them together as one patch.
Hear Foundry in action. The four basses and ten leads from this demo are included in the Demo Track collection.
Drop a recording into Foundry and decide which part of it you want to play. Keep the strike of a metal hit, tune a wavetable beneath it for weight, then fade in noise as the note opens up. Save the layers, modulation and effects together and the sound is ready for your next session.
⚡ Four Sources, One Playable Instrument
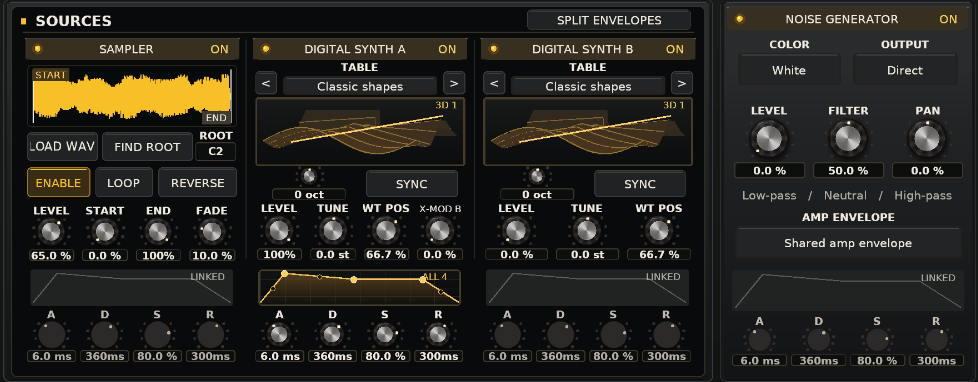
Use the stereo sampler for the initial hit, Digital Synth A for the fundamental and Digital Synth B for a detuned upper layer. The noise generator adds a fourth voice for air or grit.
Join their amp envelopes to give all four sources the same attack. Split them to let a short sample cut through while the synth layers swell behind it.
🎛 Modulation & Effects
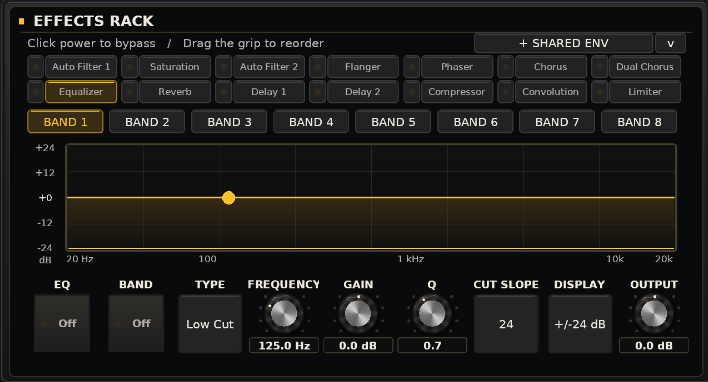
Drag the 14 effects into the order you want, then click any slot to open its controls. Put saturation before a low-pass filter to smooth the new harmonics, or move it after the filter to drive the resonant peak.
Use an envelope to push the drive on the attack, or a slow LFO to move the filter between notes. The rack shows the signal order as you work.
Two Parallel Sends, Each with Its Own EQ
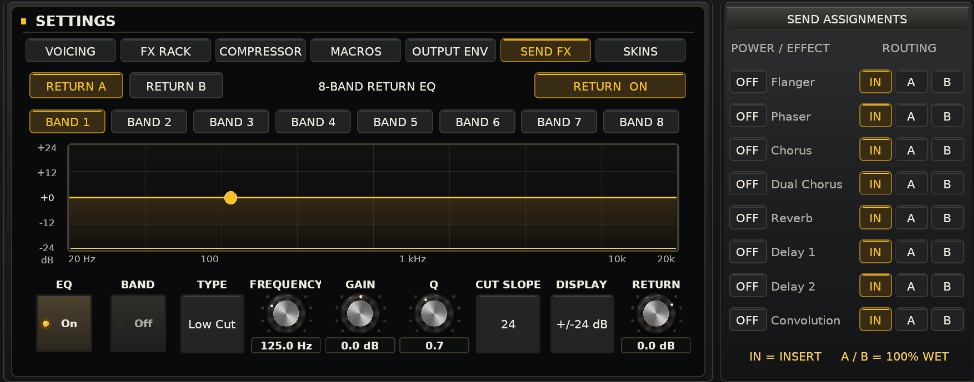
Send a delay to Return A and a reverb to Return B. Use the return EQ to remove bass from the repeats, then darken the reverb separately. The original note keeps its low end and attack.
The send assignment panel shows which effects feed each return. Both returns have eight EQ bands.
Four Performance Macros
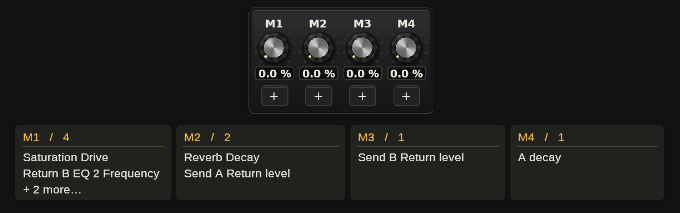
One macro can move several parameters by different amounts. In Demo Track – Kiln Runner, M1 moves saturation drive and a Return B EQ frequency. M2 pairs reverb decay with Return A level.
Turn the macro while playing, then open the Patch Browser to see where each of the four controls is mapped.
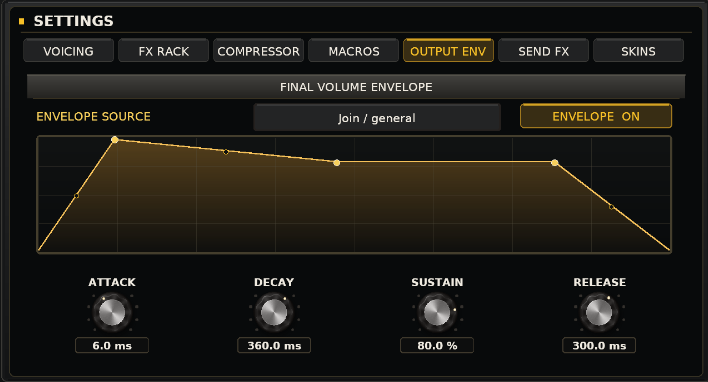
Final Output Envelope
This optional ADSR sits after the FX rack and before Master Out. A source envelope shapes the note feeding a delay. The output envelope shapes the echoes as well.
Shorten Release to clear space before the next kick, or lengthen it to let a reverb tail fade across the bar. The graph shows the full attack, decay, sustain and release shape.
📦 Product Information
- Foundry 1.0.3 by Golden Screw Studio · VST3 instrument for Windows x64
- Requires a 64-bit Windows DAW with VST3 instrument support
- 150 included patches — 136 in Factory and 14 in Demo Track (4 basses and 10 leads)
- 75 stereo samples and 1,284 LFO shapes
- 334 MB ZIP download with installer, English manual, product sheet and licence
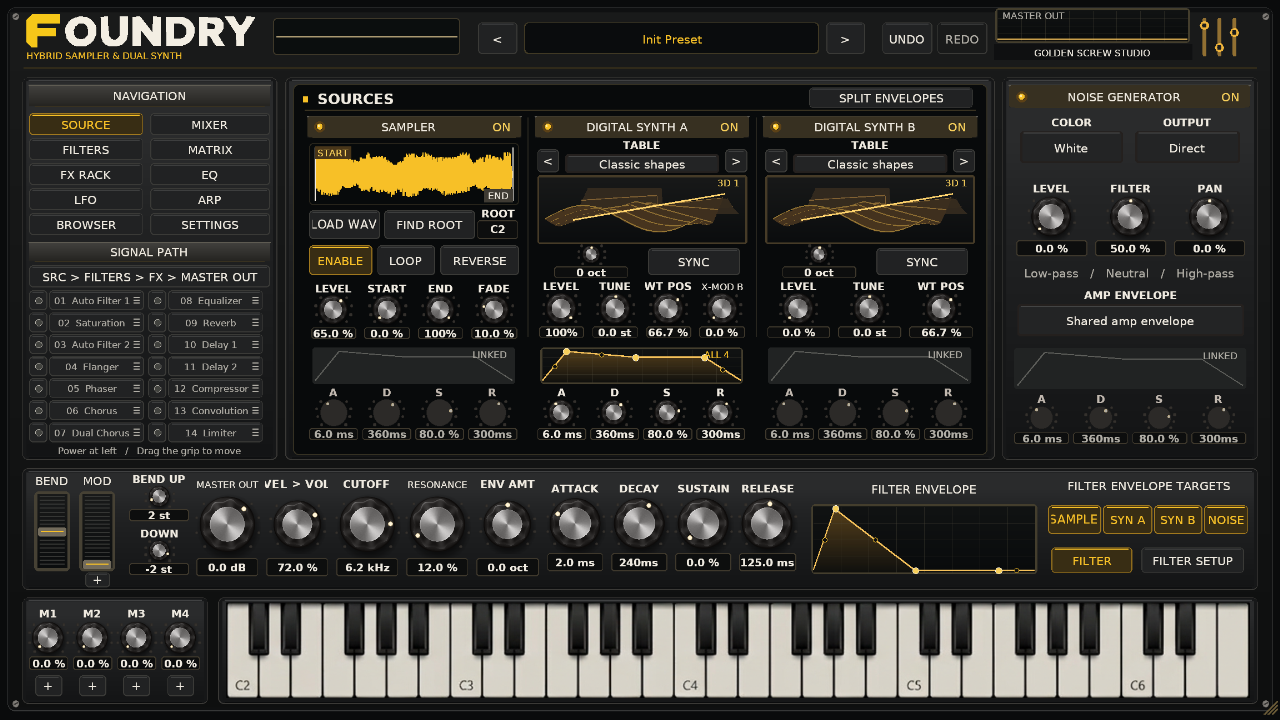
Inside Foundry
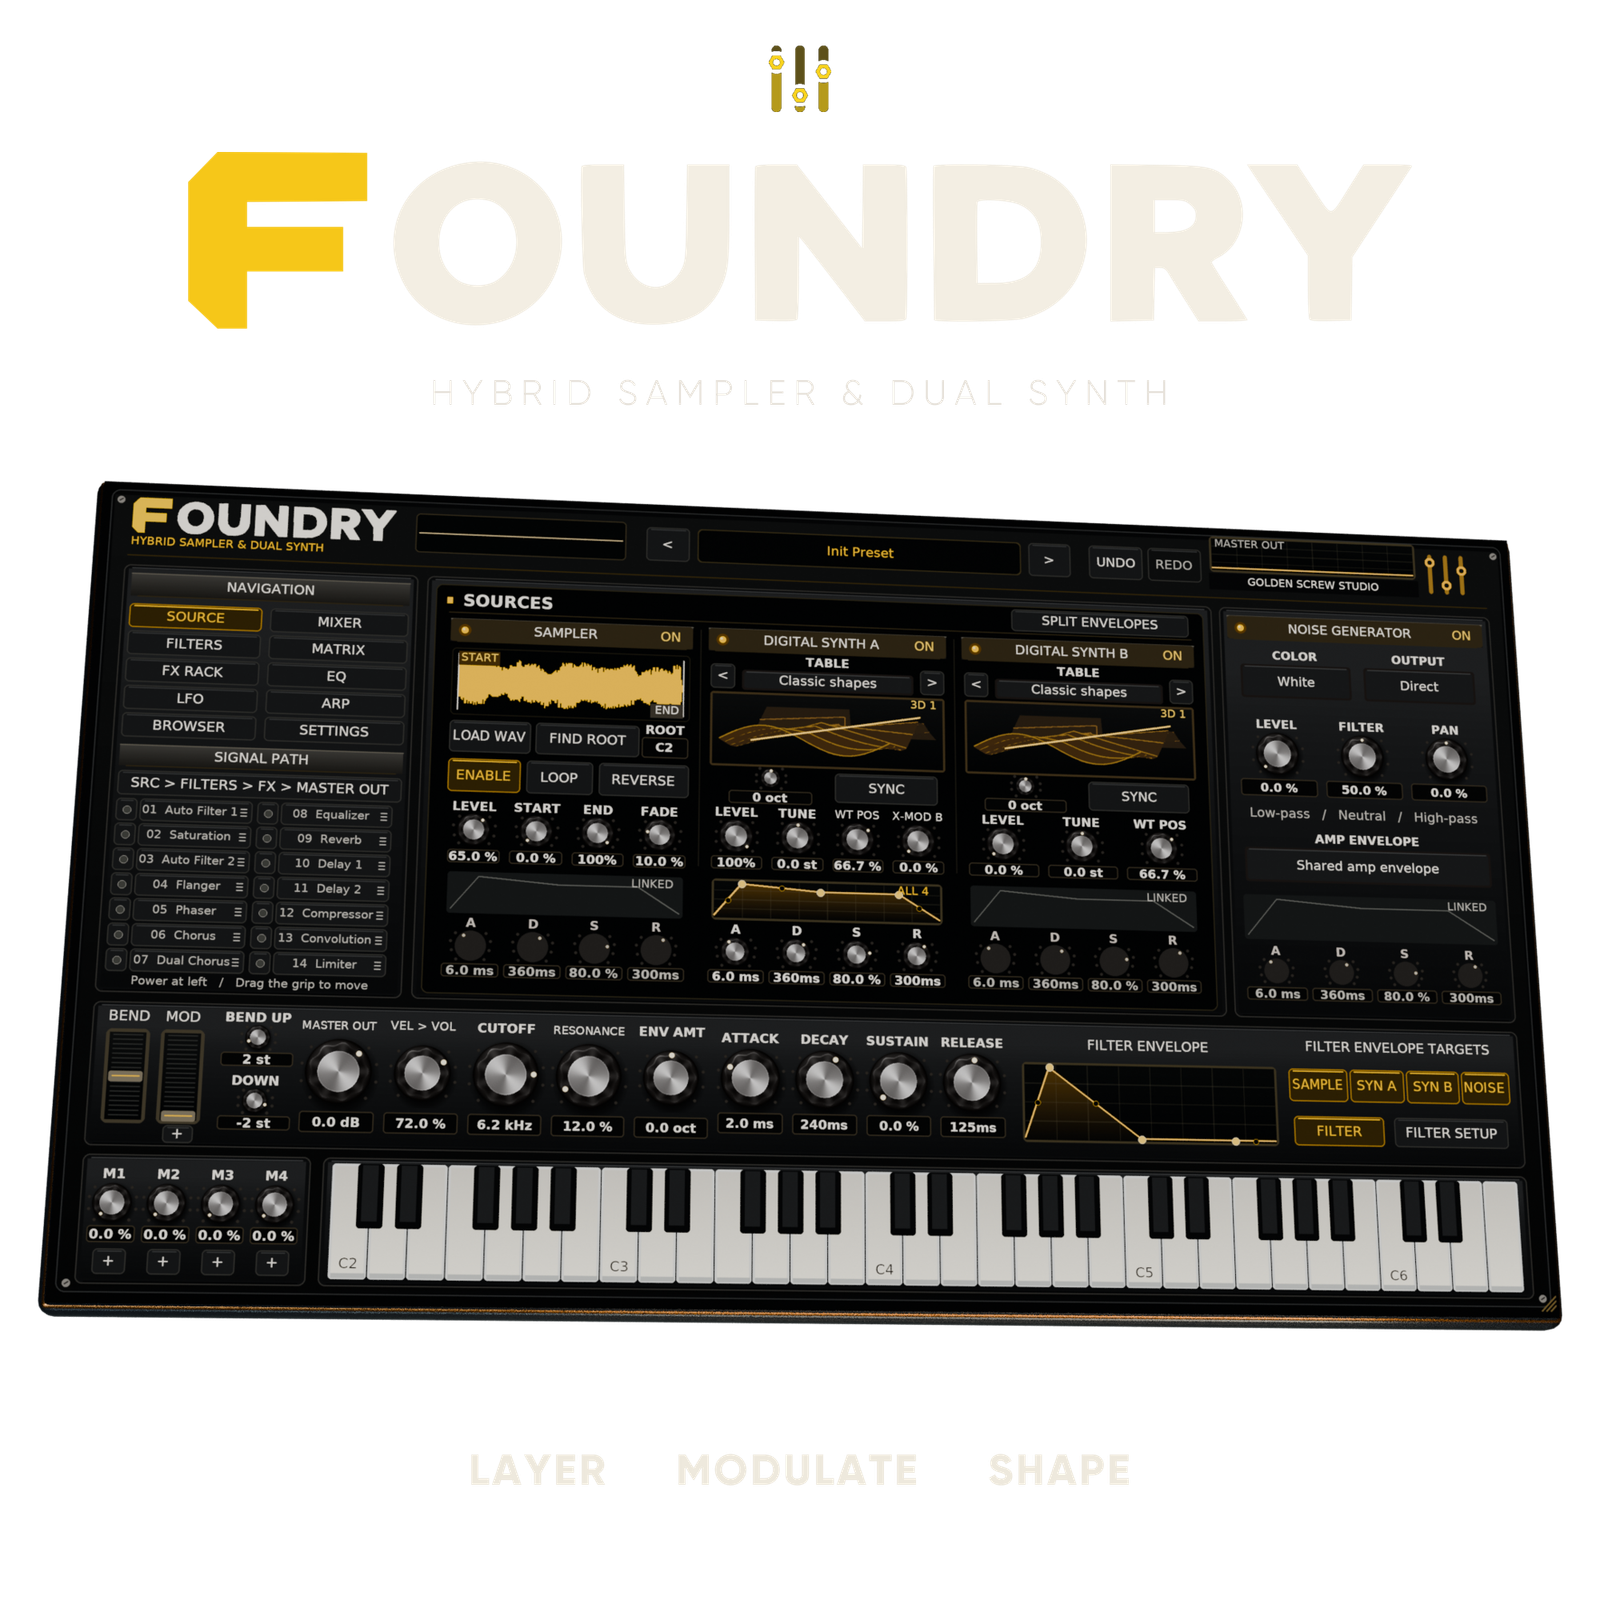
See the four sources, the signal path and the filter envelope in the same view.
Who Is Foundry For?
For producers and sound designers who like to build a playable instrument around a recording.
- Electronic producers — keep bass and plucks tight while sending their upper layers into space through filtered effects returns.
- Ambient and cinematic composers — blend a recognizable recording into a slowly moving pad, with a different entrance for each layer.
- Live performers — turn several changes into a single macro gesture you can repeat from the keyboard.
Why Foundry Stands Out
The source envelopes decide when each layer speaks. The return EQs decide which frequencies linger in the room. The output envelope decides when the whole sound ends. On a bass patch, that means you can keep the low note short, leave a bright echo hanging over it, and pull the entire tail back just before the next kick.
Turn your next recording into a patch you can play.
GET FOUNDRY NOW


Reviews
There are no reviews yet.